Relief to 3D converter
Relief to 3D — Export a Printable STL or OBJ
Upload a relief image or a photo, let the generator work out its shape, check the model in 3D, and — as a member — export a solid STL, 3MF, OBJ or GLB sized in millimetres. The print settings we recommend are right below.
Try a sample without an account · Members make their own reliefs and download STL, 3MF, OBJ & GLB
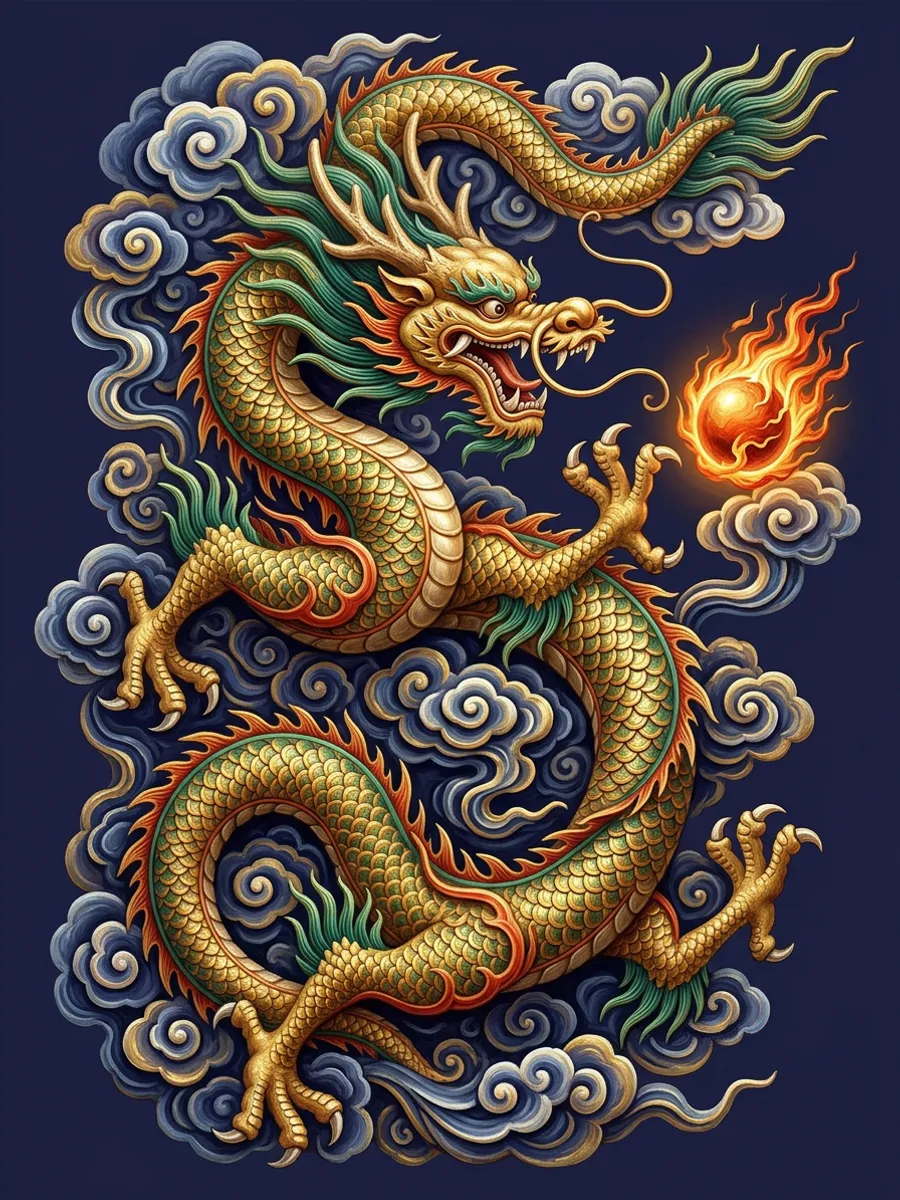
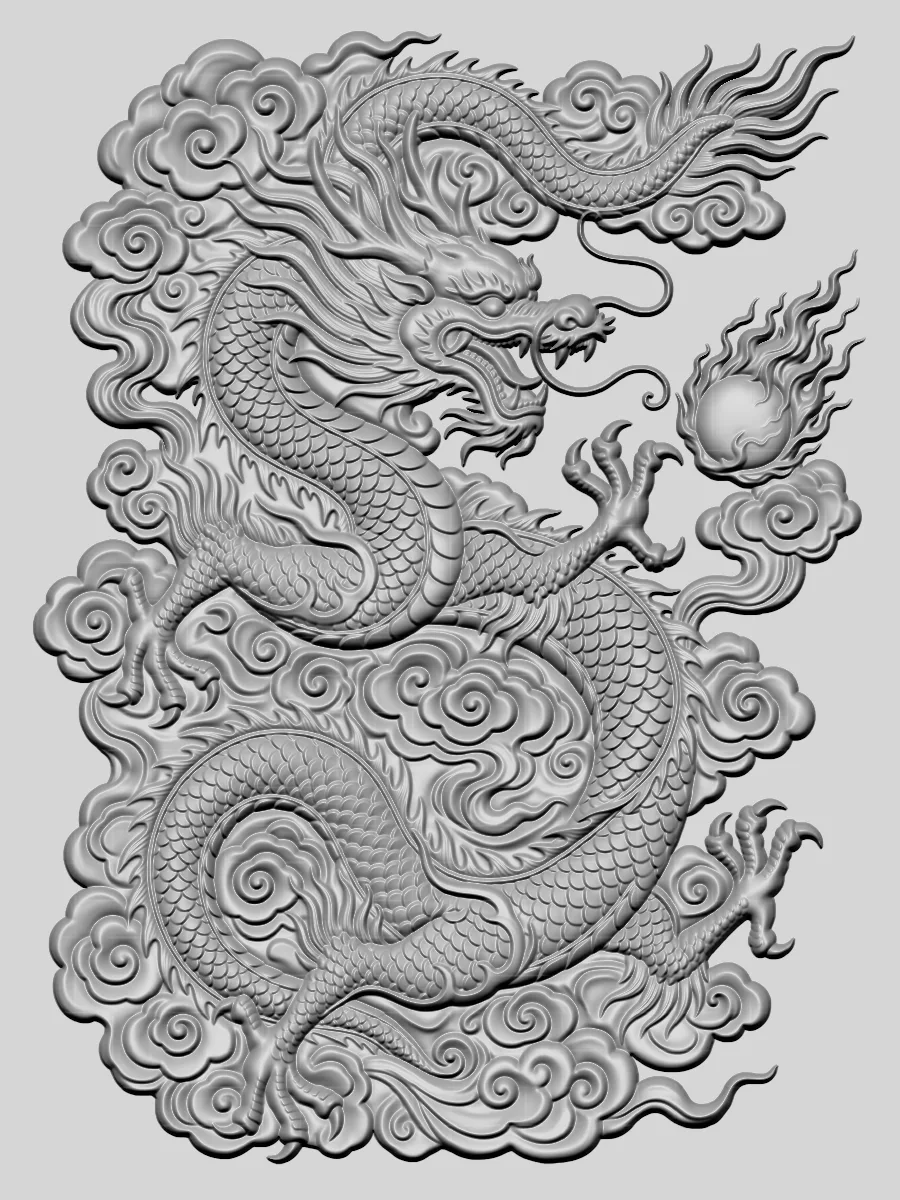
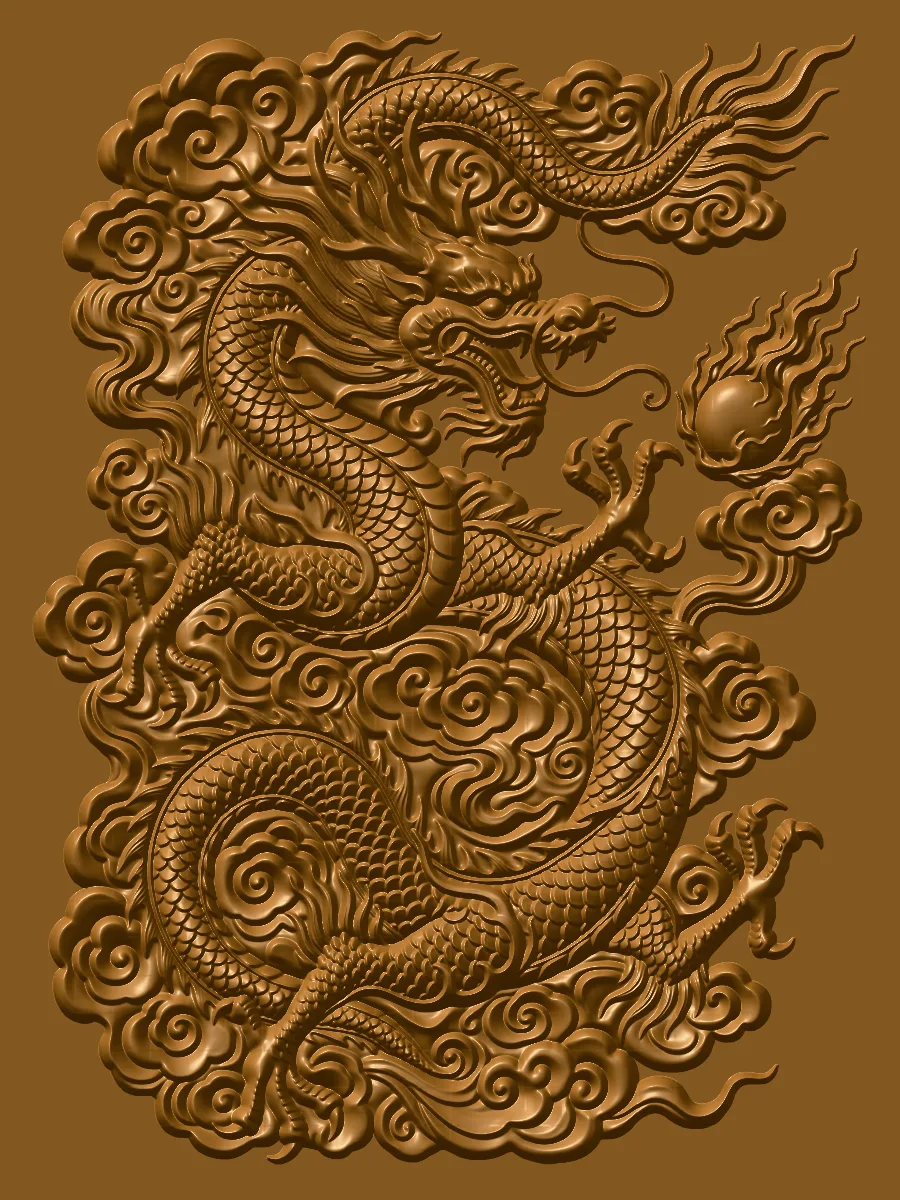
What you can export
Every file is a closed, watertight solid with a flat back, so it slices without repair.
STL
The format every slicer opens. Binary, millimetres, Z up — drop it into Cura, PrusaSlicer, Bambu Studio or OrcaSlicer and it arrives at the size you set.
3MF
The newer print format: it states its unit and packs the same mesh into a much smaller file. Bambu Studio, OrcaSlicer, PrusaSlicer and Cura all open it, flat on the bed.
OBJ
Plain-text mesh for Blender, ZBrush, Fusion and most CNC/CAM software. Use it when you want to keep editing: add a frame, a hanging hole or a backplate.
GLB + HD originals
GLB carries the relief in full colour, for the web, AR viewers and game engines. Every relief also includes a high-resolution STL and GLB, exactly as it was generated.
Recommended 3D print settings for a relief
These are starting points for a 0.4 mm nozzle on a typical FDM printer. They favour surface quality over speed, because a relief is all surface.
| Setting | Recommended | Why |
|---|---|---|
| Layer height | 0.12–0.16 mm (0.08 mm for pieces under 60 mm) | Thinner layers mean smaller steps on the gentle slopes that make up a relief. |
| Infill | 15–20%, gyroid or grid | A relief is thin, so most of it is solid skin already. More infill only adds time. |
| Walls and top layers | 3 walls, 5 or more top layers | Enough top layers stop the infill pattern from showing through the sculpted face. |
| Orientation | Flat on the bed, relief facing up | Fast and reliable, with no supports. Stand it upright with a brim when you want the sharpest detail across the face. |
| Supports | None | A relief has no overhangs when it is printed face up. |
| Material | Matte PLA; resin for miniatures | Matte filament hides layer lines and shows the shading of the relief. Resin at 0.03–0.05 mm layers suits coins and jewellery. |
| Outer wall speed | Slow the outer wall and top surface to about half speed | Slower surfaces are smoother, and the face is the part people look at. |
How long does a relief take to print?
Rough print times at a 0.16 mm layer height with the settings above, for a relief 5 mm deep on a 1.6 mm base. Fast printers and thicker layers cut these roughly in half.
| Size (long side) | Typical use | Print time |
|---|---|---|
| 60 mm | Coin, keychain, ornament | About 1 hour |
| 100 mm | Tile, desk plaque, gift | 2–3 hours |
| 200 mm | Wall panel, portrait plaque | 8–12 hours |
Making the relief is the quick part: generating it takes about a minute, and the export takes a second or two.
Frequently asked questions
Quick answers about the image to relief generator.
Should I export my relief as STL or OBJ?
Use STL if the next step is a slicer and a 3D printer: it is the format every slicer expects. Use OBJ if you want to edit the model first in Blender, ZBrush or CAD, or if your CNC software asks for it. Both files contain the same geometry at the same size.
Will the 3D model come out at the right size?
Yes. The exported file uses millimetres, and its long side matches the Size setting exactly. If your slicer asks which unit an STL uses, choose millimetres. You can still scale the model in the slicer; scale all three axes together so the depth stays in proportion.
How thin can a 3D printed relief be?
With a 0.4 mm nozzle, keep the base at 1.2 mm or more so the plate stays flat and rigid, and give the relief at least 1.5 mm of depth so the shapes read clearly. Thinner than that, small features start to disappear into single layers.
Can I use the relief for CNC carving or laser engraving?
Yes. Import the STL or OBJ into your CAM software and set the stock to the model's size. For CNC, keep the relief depth within what your bit can reach, and use a ball-nose bit for the finishing pass. For laser engraving, choose the laser and CNC option before you generate: it produces a shallower carving.
Starting from a photo instead of a relief?
The same tool turns any picture into a relief first. Start on the image to relief generator, then come back here for the print settings.
Open the image to relief generator